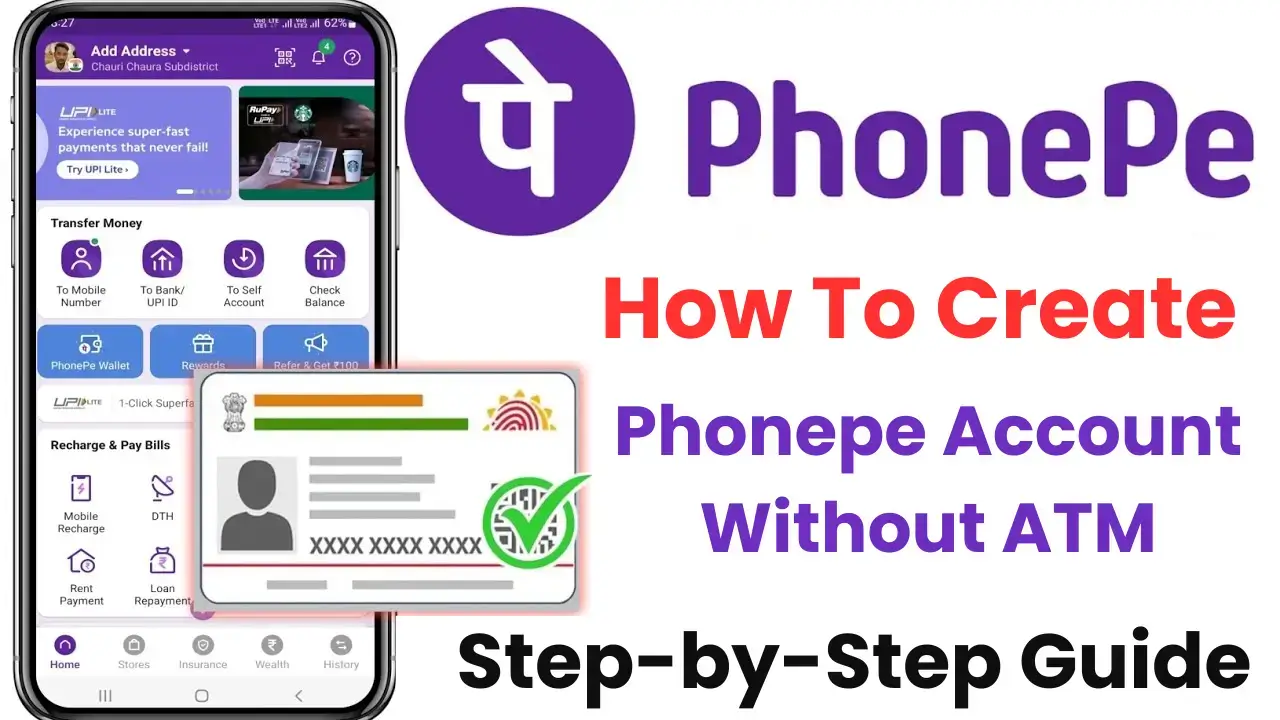
Creating a PhonePe account without an ATM card is now easier than ever, making digital payments accessible for everyone. In this guide, we will walk you through the entire process step-by-step, ensuring that you can set up your PhonePe account with ease, even if you don’t have an ATM card. Let’s dive into the details.
Why Use PhonePe?
PhonePe is one of India’s leading digital payments and financial services platforms. Here’s why you should consider using it.
- Convenience: Make instant payments and transfer money easily to friends and family.
- Bill Payments: Pay your utility bills directly from the app.
- Cashback Offers: Enjoy cashback on transactions, especially new account creations or when making your first payments.
- Security: Transactions are secured with UPI and two-factor authentication.
How To Create Phonepe Account Without ATM Card 2025
PhonePe is a popular UPI payment app that offers features like bank transfer, recharge, bill payment and online shopping. Usually, an ATM card is required to create an account, but even if you do not have an ATM card, you can create a PhonePe account. For this, some easy steps have to be followed, so that you can link your bank account and make UPI payments even without a debit card. In this guide, we will tell you step-by-step how to create a PhonePe account without an ATM card.
Step 1: Download the PhonePe App
Before you can create an account, you need to download the PhonePe app. You can find the download link in the below or search for “PhonePe” in your device’s app store. Once downloaded, open the app to start the registration process.
Step 2: Register with Your Mobile Number
When you open the app, you will see the option to enter your mobile number. Here are the steps to follow.
- Enter your Mobile Number: Make sure that this number is linked to your bank account.
- Click on ‘Proceed’: This will trigger an OTP (One-Time Password) sent to your registered mobile number.
- Wait for OTP Verification: The app will automatically read the OTP. Just wait for a few moments until it completes this process.
- Click on ‘Verify’: You are now verified.
Step 3: Complete Your Profile
To ensure a successful setup, you need to complete your profile. Follow these sub-steps:
- Permissions: Allow necessary permissions when prompted by the app.
- Personal Information: Input basic information like your gender, age, and marital status.
- Family Information: Indicate who you live with (e.g., spouse, children, parents).
- Submit Your Profile: Click ‘Submit’ once you have filled all details to complete your profile setup.
Step 4: Adding Your Bank Account
Once your profile is completed, you can link your bank account.
- Go to Home Page: Click on the account icon at the top of your home page.
- Add Bank Account: Select the option to add a bank account.
- Choose Your Bank: A list of banks will appear; select the bank linked to your mobile number.
- Proceed with Bank Linking: Click on the option and get ready to create or reset your UPI PIN.
Step 5: Resetting Your UPI PIN (No ATM Card Required)
You have two options for resetting your UPI PIN.
- Using Debit Card: If you have a debit card linked to your bank account:
- Enter the last six digits of your card.
- Input the expiry date.
- Enter the OTP sent to your registered mobile number.
- Set your new UPI PIN.
- Using Aadhaar Number: In case you don’t have a debit card:
- Select the option to authenticate using your Aadhaar number.
- Make sure your mobile number is linked to your Aadhaar.
- Enter your Aadhaar number after accepting the terms.
- Set your UPI PIN as required.
Also read: What is a Pop Upi App?
Step 6: Activate Your PhonePe Wallet
To benefit from cashback and other offers, you’ll want to activate your PhonePe wallet.
- KYC Verification: Complete a quick KYC process through document submission. Options include PAN card, driving license, or passport.
- Recieve Cashback: Cashback from transactions will be credited to your PhonePe wallet, which you can later use for further transactions.
Step 7: Sending Money
Once your account is set up, sending money is straightforward.
- Choose Sender Option: You can send money via phone number or UPI ID.
- Enter Amount: Input the amount you wish to send.
- Input Your UPI PIN: To complete the transaction, enter your newly created UPI PIN.
- Transaction Confirmation: You will receive a confirmation once your money has been successfully sent.
Step 8: Checking Your Bank Balance
To check the balance of your bank account.
- Select Check Balance Option: Go to the balance check feature on your home screen.
- Choose Your Bank Account: Select the account for which you want to check the balance.
- Enter UPI PIN: Authenticate using your UPI PIN and view your available balance.
Conclusion
Creating a PhonePe account without an ATM card is a simple and hassle-free process that anyone can follow. The ability to conduct seamless transactions, pay bills, and send money with just a few taps makes PhonePe an invaluable tool in today’s digital world. Don’t forget to leverage the cashback offers accessible through the platform after completing your first couple of transactions.


